|
3RD QTR 2009
|
 •
•
 •
•
 •
•

|
| DATE |
HRS |
TTD |
ACTION |
IMAGES |
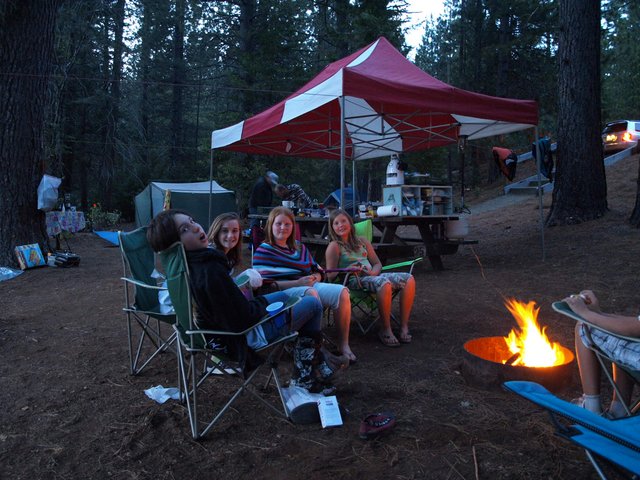
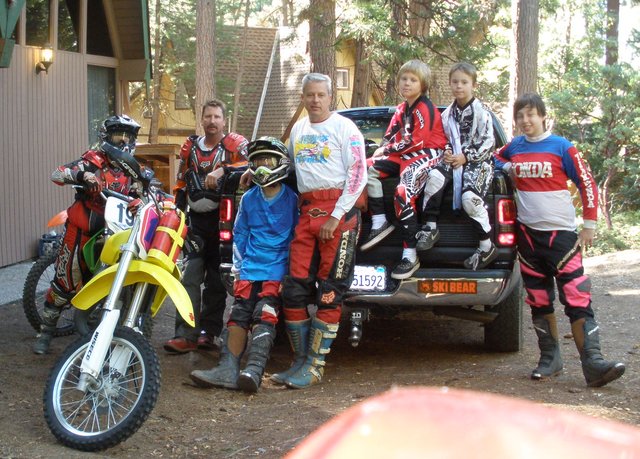
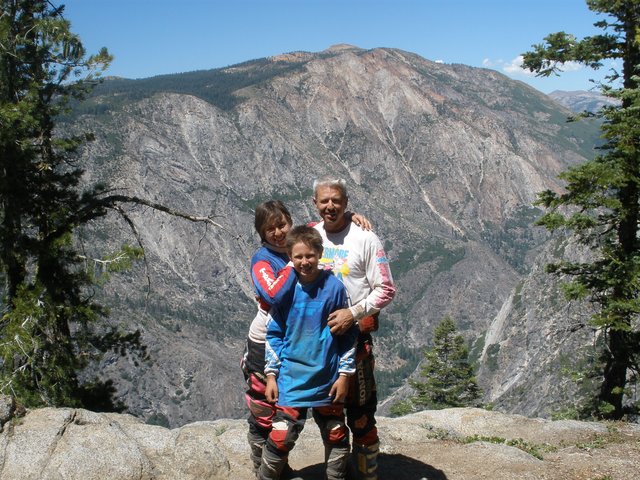
| Pretty much took the summer off to play with
the kids. It went by quick with season passes to Marine World for the
roller coasters, riding dirt bikes, camping and taking the boat out,
we also hosted a student from Spain for two weeks. |


 |
| 09/03/09 |
2.5 |
1085.1 |
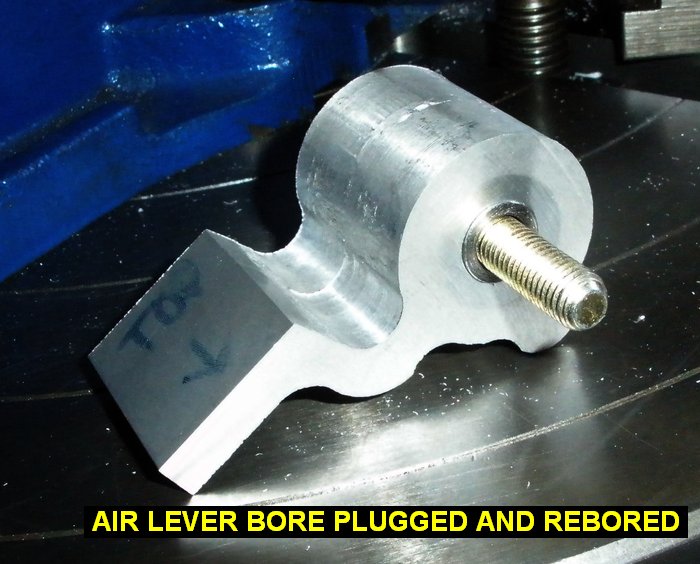
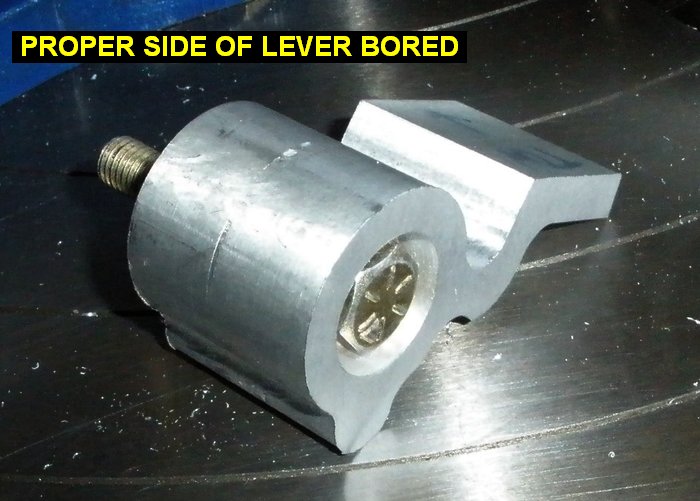
Got a great deal on a really
nice rotary table so I gave Don his back. Had
to fix my mistake of boring the wrong side of the levers. I made round
aluminum plugs on the lathe that were a slip fit into the bores. I then
put them in with Cylindrical Bond Loctite. Rebored the correct side of the
levers and then milled the bases off them. |
 |
 |
 |
| 09/04/09 |
3.2 |
1088.3 |
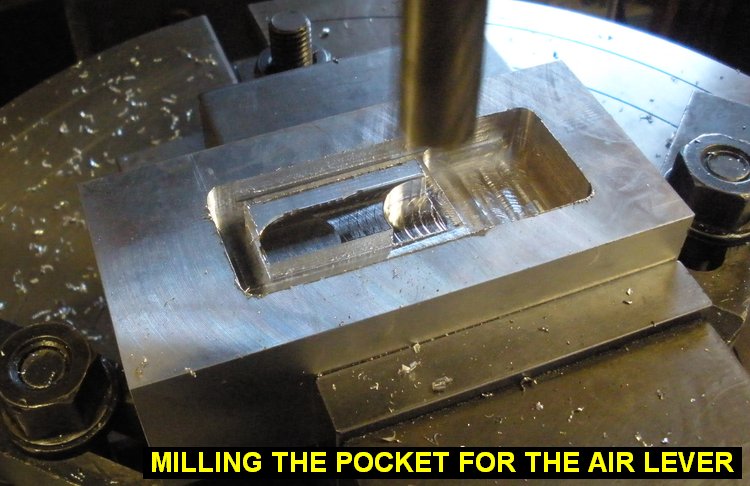
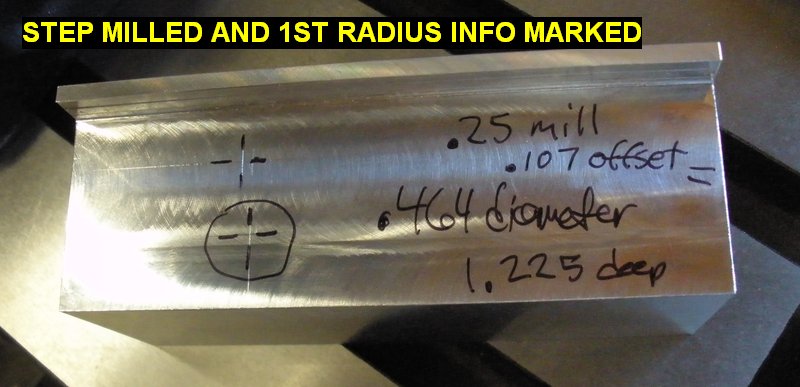
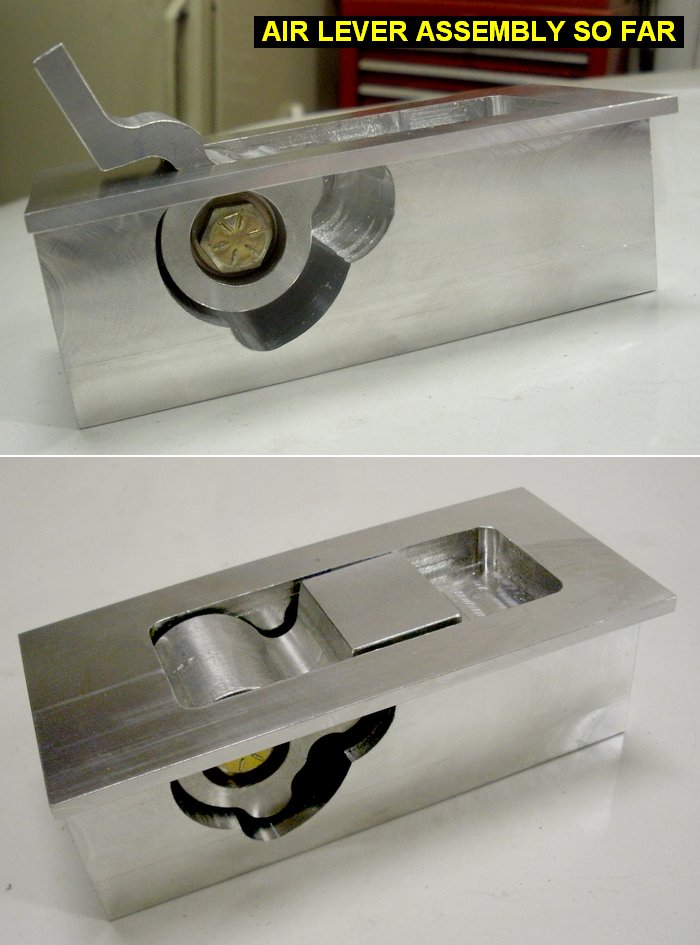
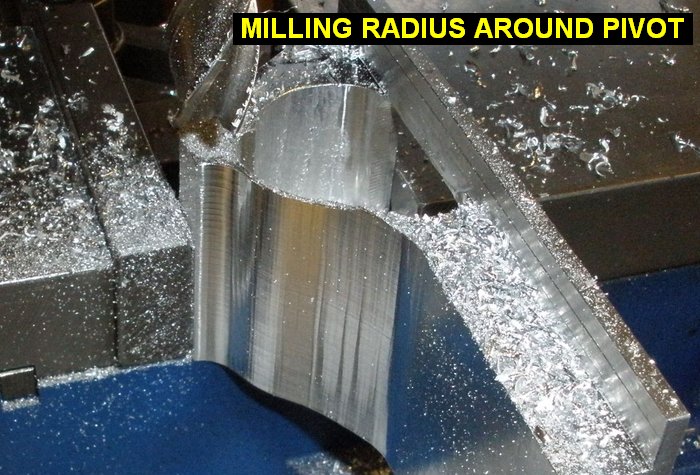
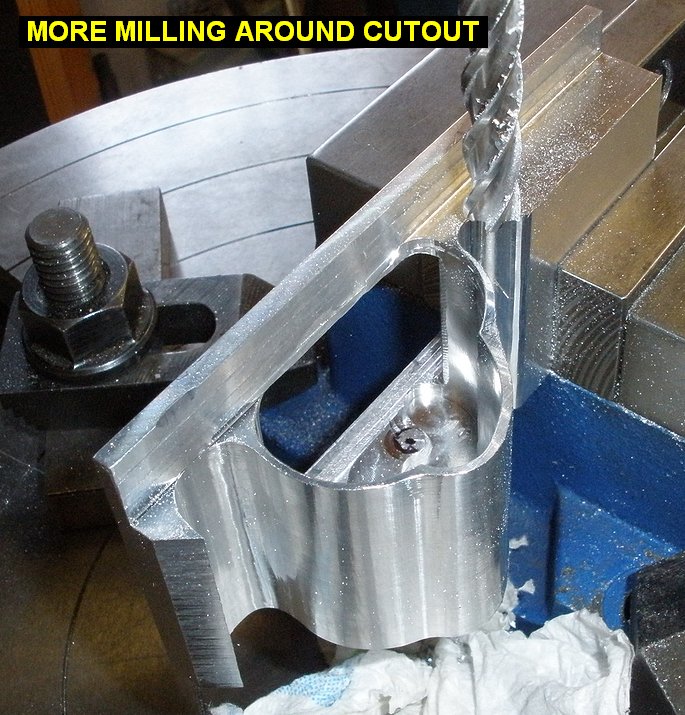
Started working on the base unit for the
lever to operate in. First I milled the pocket in the top. Then I milled
out the right side step. Then I milled the various radius cuts for the
lever to operate in. Lastly I drilled and tapped the pivot bolt hole for
the lever. |
 |
 |
 |
 |
| 09/10/09 |
0.7 |
1089.0 |
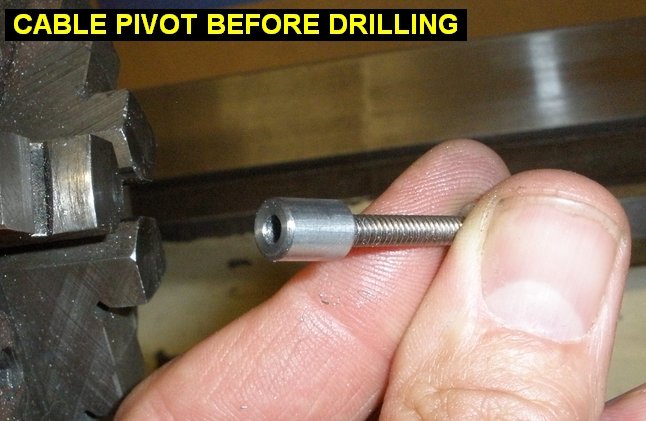
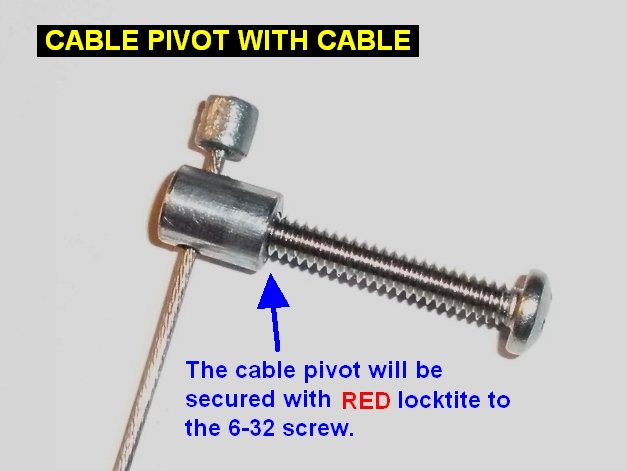
I'll be using some bicycle
shiftr cable to operate the air bottle valve. To attach the cable to the
air lever I need a cable pivot. I made the cable pivot from some steel rod
I had laying around. Turned it down on the lathe, tapped it 6-32 part way
in, then drilled a hole for the cable to go through. The pivot will be
secured with red locktite to the screw. |
 |
 |
| 09/11/09 |
0.7 |
1089.0 |
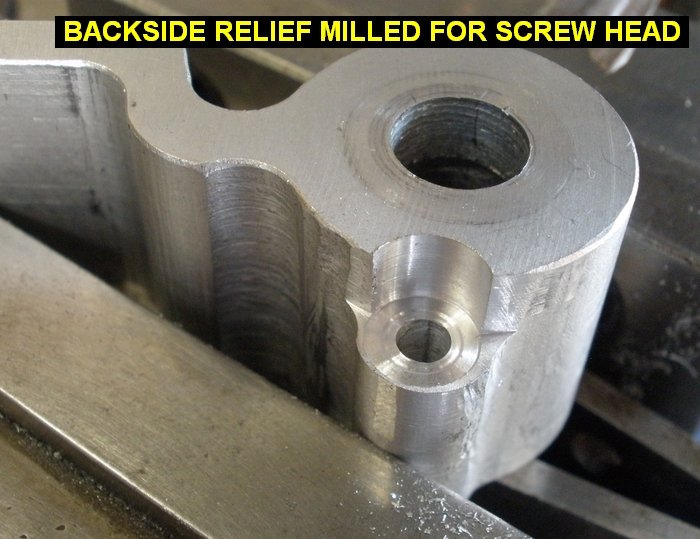
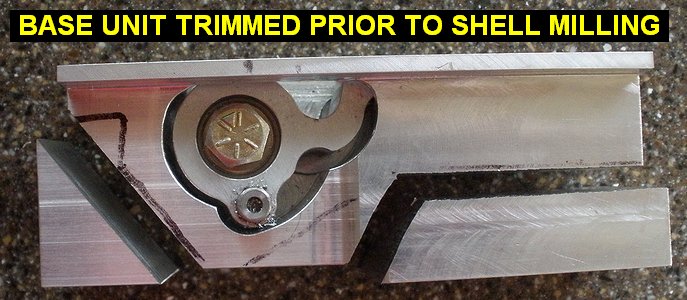
Located and drilled the pivot
hole in the air lever. Milled relief in the backside for the screwhead so
it will rotate when screwed into the pivot. Went over to Don's and trimmed
the base unit down a bit on his bandsaw. |
 |
 |
 |
| 09/13/09 |
1.2 |
1090.2 |
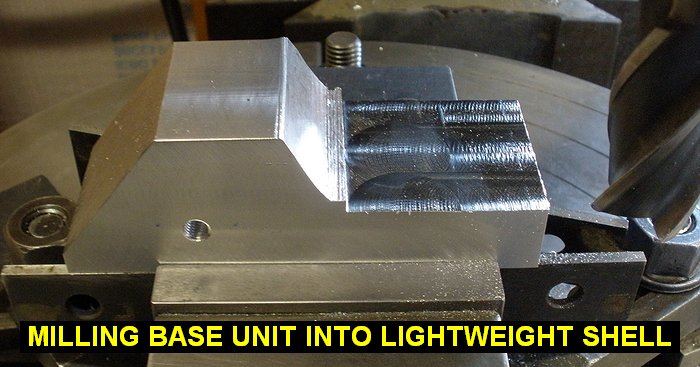
Started milling on the base unit
to take weight out of it and create a base around it for mounting in the
side console of the airplane. |
 |
 |
 |
| 09/15/09 |
3.4 |
1093.6 |
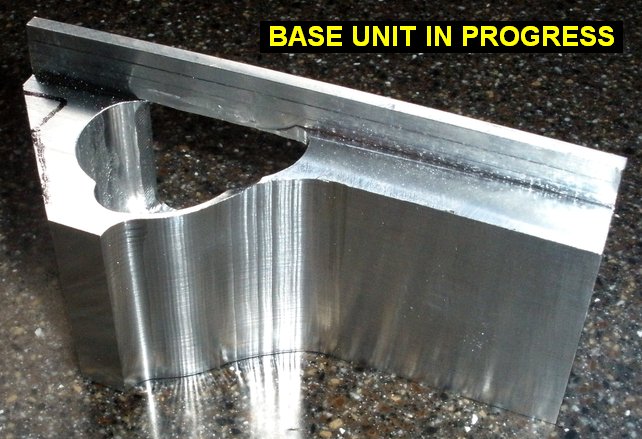
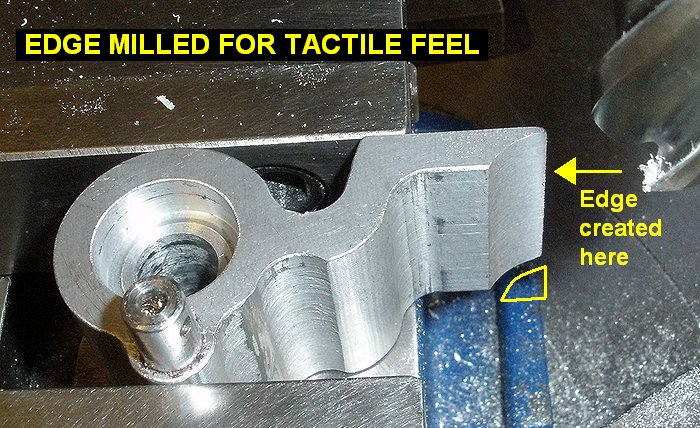
Finished milling the base unit, making it
quite a bit lighter than the block it started from. Also milled the top
surface down to .065 thick from .125 thick so the lever will sit flush
with the .050 sheetmetal console it will be mounted in. Milled an edge
into the lever so it feels better to the touch when activated. |
 |
 |
 |
 |
| 09/17/09 |
4.0 |
1097.6 |
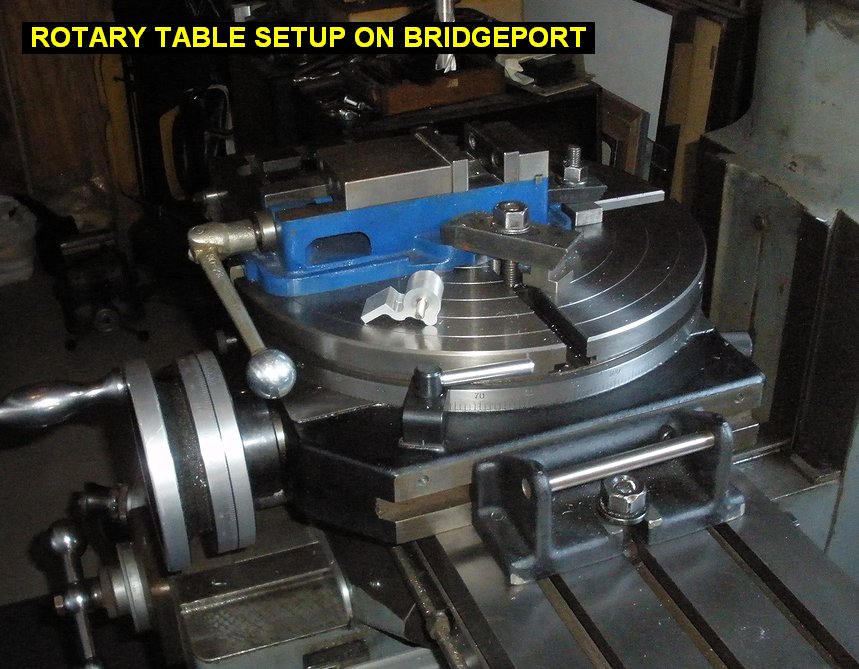
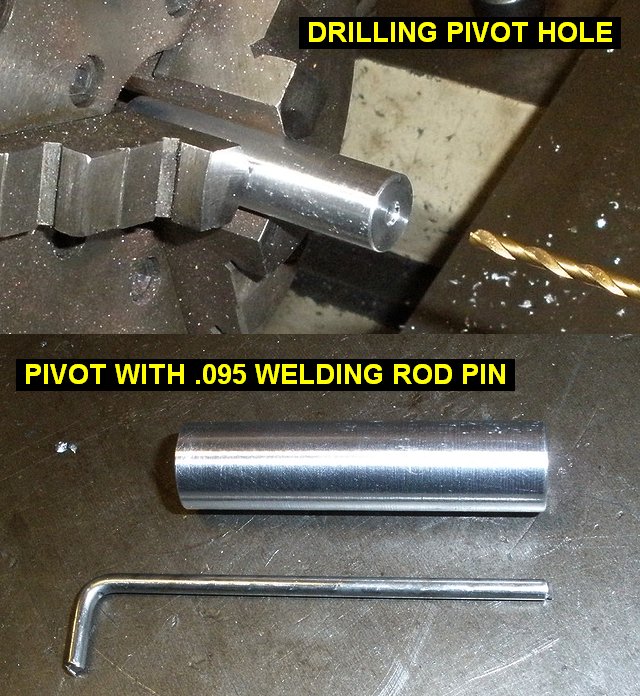
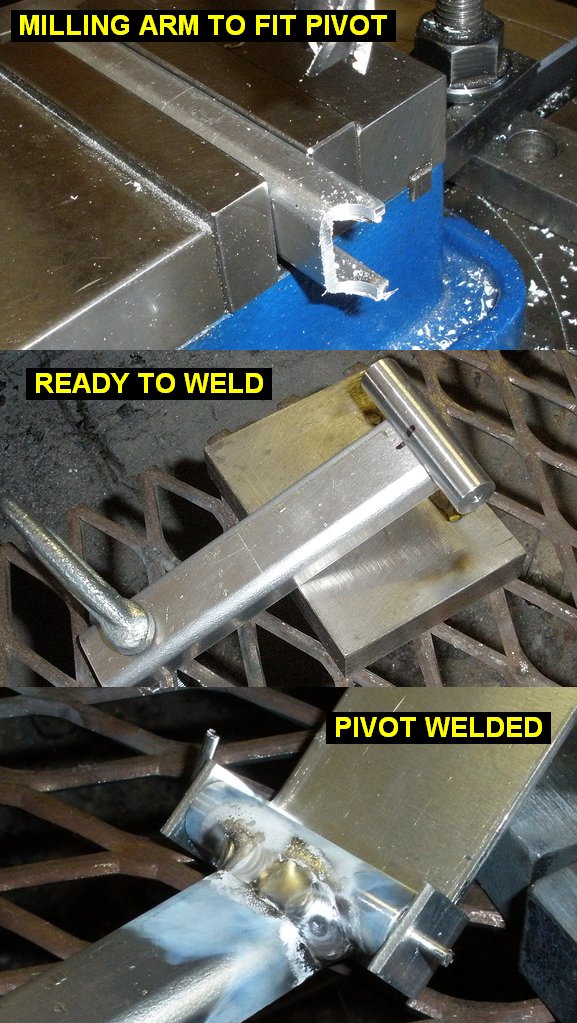
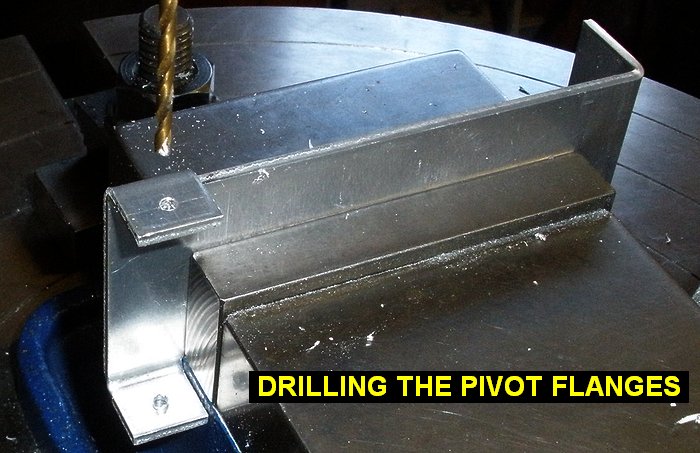
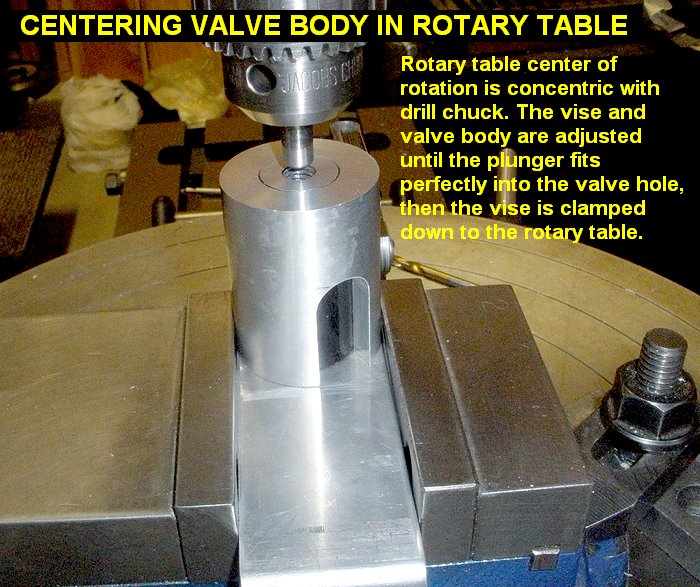
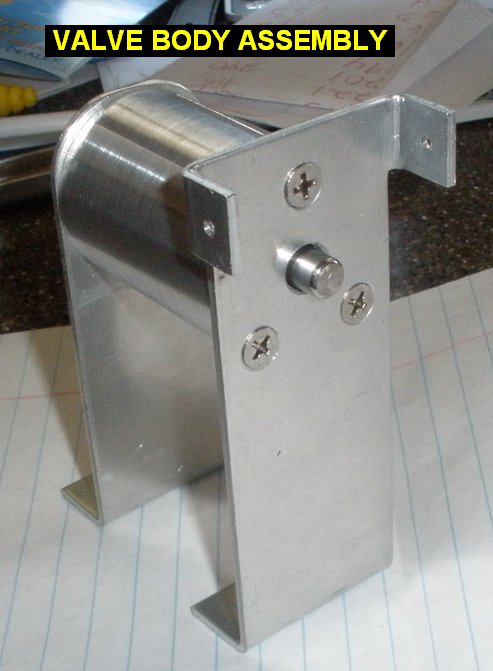
Working on the
bottle valve assembly. Cut and turned a pivot out of some aluminum. Cut
and bent a pivot pin out of .095 stainless welding rod. Welded the pivot
to the arm. Drilled holes in the pivot flanges. Centered the valve body
holder in the rotary table then offset the table to drill the three holes
to mount the support. Tapped the holes 8-32. |
 |
 |
 |
 |
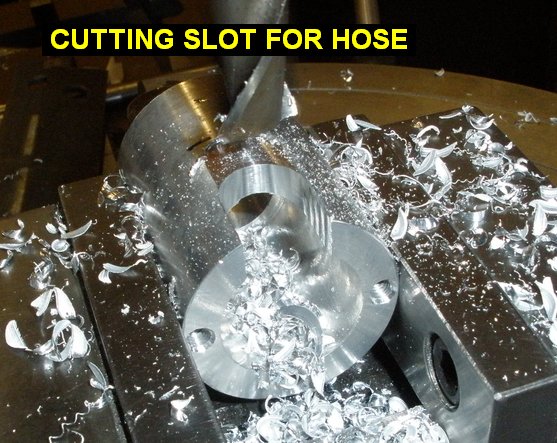
| 09/18/09 |
2.0 |
1099.6 |
Located and drilled the matching holes in
the valve body vertical support. Also cut the center hole for the bottle
to go through. Milled a slot in the valve body holder for the hose to
slide through. |
 |
 |
 |
 |
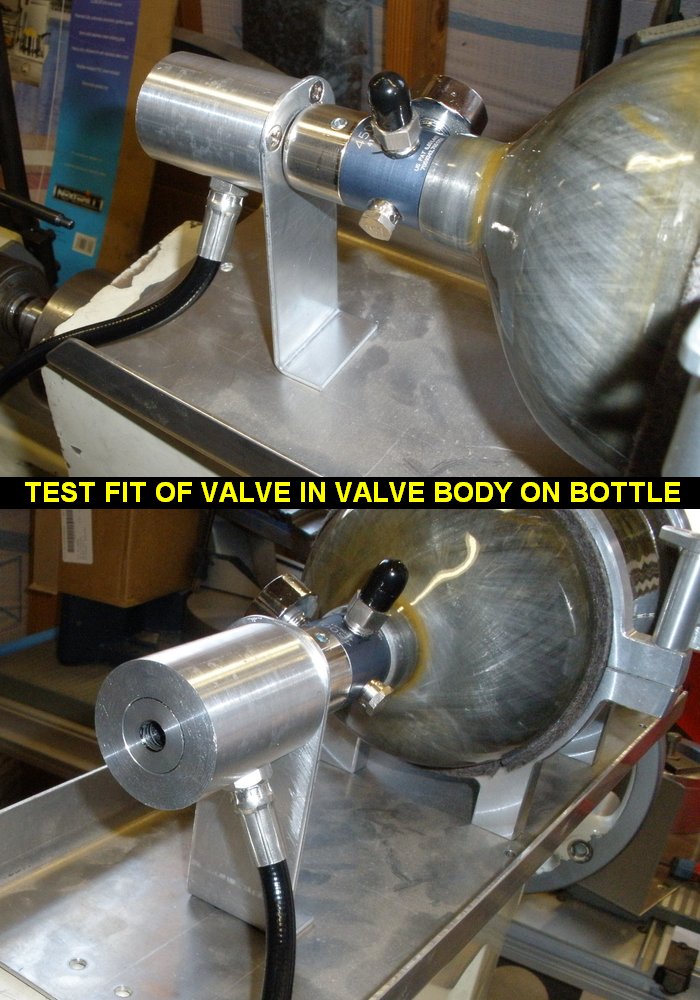
| 09/22/09 |
1.5 |
1101.1 |
Reamed the inside threaded bore
of the paintball valve 19/64 to get rid of most of the threads for the
screw knob that came with it. I then made a .295 diameter stainless steel
plunger .701 long that goes inside the bore. The plunger was made from a
5/16 stainless bolt turned down and polished on the lathe. |
 |
 |
 |
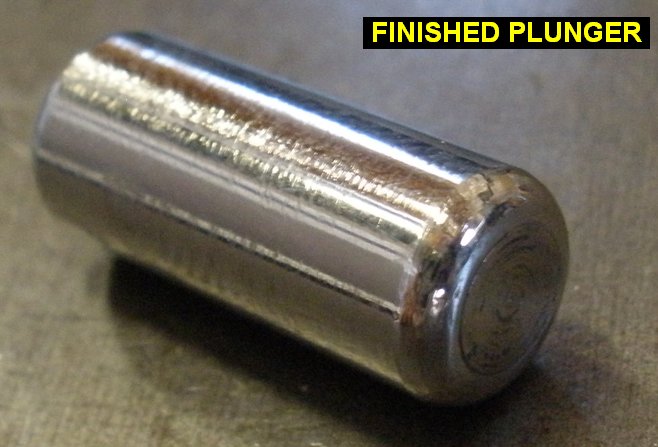
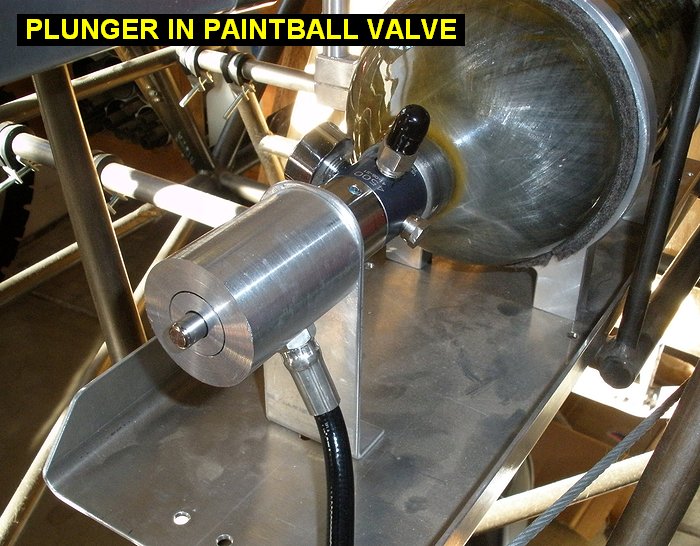
| 09/24/09 |
0.8 |
1101.9 |
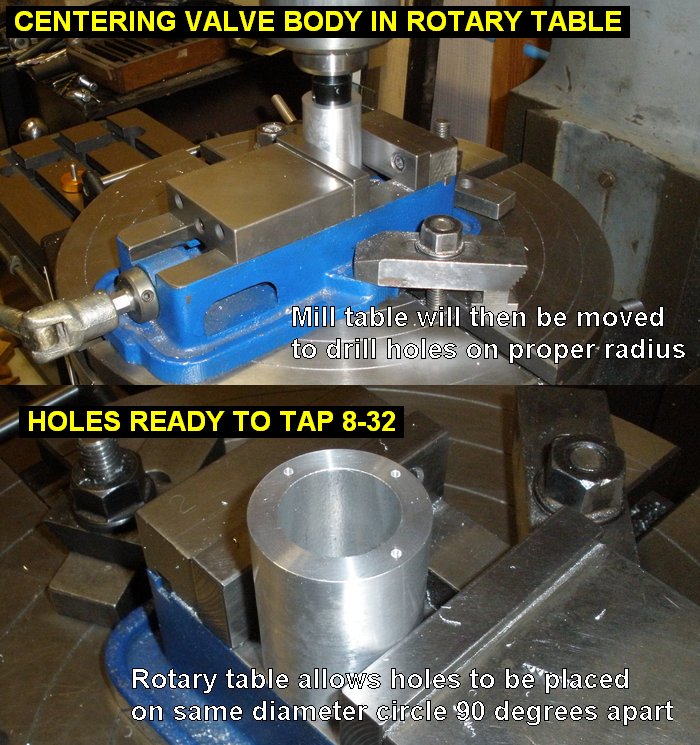
HAd to make another plunger, I
forgot about the thickness of the vertical support when making the first
one, so this new on is .800 long. Luckily I had enough of the original
bolt left to cut off another and polish it up. I then located and drilled
three holes into the vertical support, and set up the valve holder
centered in the rotary table to drill its matching holes tomorrow. The
rotary table makes it easy to drill holes in a circular pattern with
precise spacing. |
 |
 |
 |
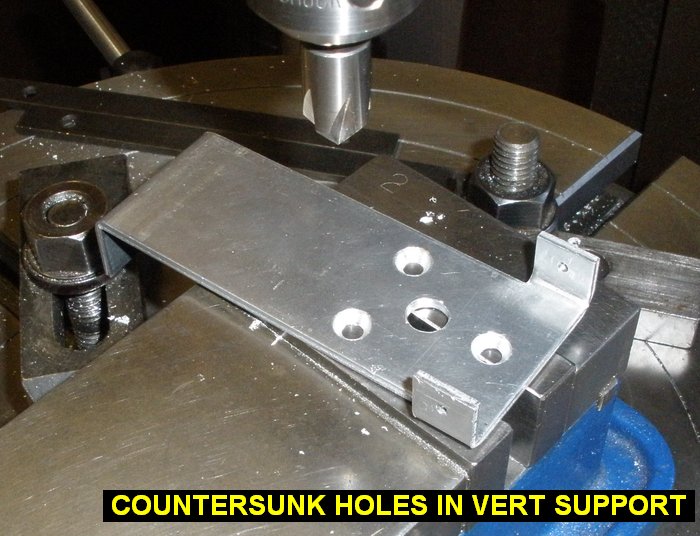
| 09/25/09 |
2.5 |
1104.4 |
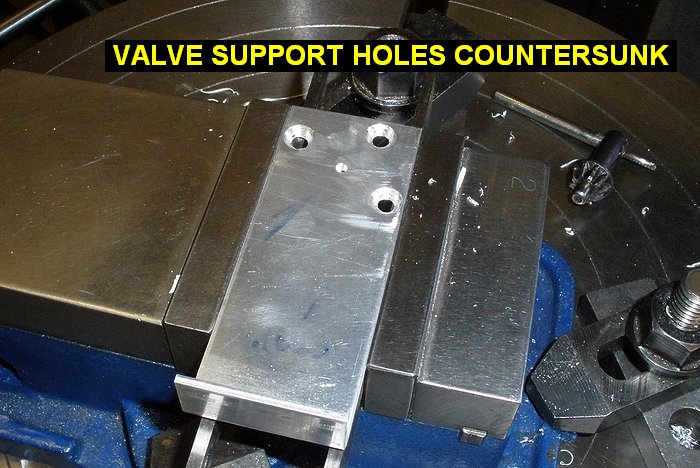
Drilled and tapped the holes in the valve
holder. Countersunk the holes in the vertical support. Drilled holes for
the bicycle shifter cable to go through the vertical supports and the
pivot arm. The cable is secured by a model airplane wheel collar which has
a set screw to clamp down on the cable. |
 |
 |
 |
 |
| QTR TOTAL |
21.5 |
|
|
3RD QTR 2009
|
•
•
•
|