Replacement of Upper Left Engine Mount Bushing

Basically, I did some welding a little too close to this bolt which didn't have anti-seize on its threads. When I removed it, it ruined all the threads on the way out. This page shows how I replaced it. Luckily, I had not yet welded on the cabane fittings, or I would have had to replace a lot more metal. I post this so that others may learn from my mistake.

Replacement of Upper Left Engine Mount Bushing - November 2001:
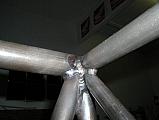
After I got done tackwelding the cabane jigs together over at my friend Jimmy's, I decided to finish welding up the jigs a bit and see how the fittings fit in them. When I was setting the forward left cabane fittings in the jig I noticed a little high spot on a weld bead at that cluster which kept the parts from taking their proper location. So I ground the little high spot down a bit, took the tig torch and ran a puddle over it to smooth it out. A few minutes later I put the fittings and jig back on and ran the bolt thru the jig into the bung and tightened it down. I was suprised to noticed the jig was still loose however, the bolt had not bottomed on the jig but had stopped short just barely short, such that I did not notice it. Well I had a heck of a time getting the bolt out, and the messed up end took all but the furthest .33" of threads from inside the engine mount bushing with it. I didn't know to use anti-seize compound in the holes. I do now. I thought my fuselage was scrap.
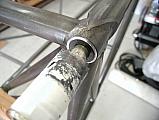
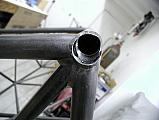
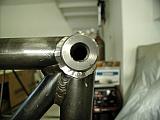
Luckily for me, Kevin Kimball had a couple of ideas, but the one we both agreed was best was to remove the 1" diameter engine mount bushing (bung) inside the 1.25 x .120 sleeve, then re-weld a new one in. I was also lucky I didn't screw up a bottom bung, since I would have had to redo the forward landing gear bushing as well.
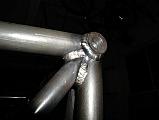
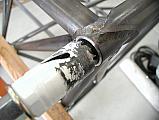
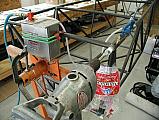
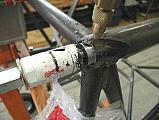
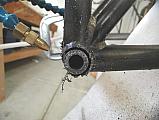
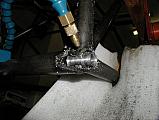
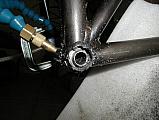
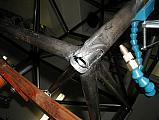
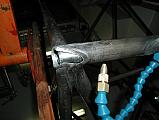
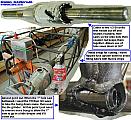
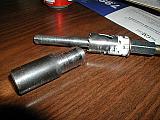
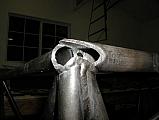
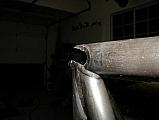
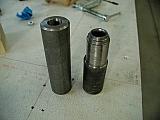
I considered drilling the old one out but didn't have big enough bits in small increments, so I rigged together a holesaw holder. I took a couple of 1/2-20 bolts and cut the heads off and rounded the new ends. I then put a 1" holesaw on a bolt with the long end sticking out through forward of the teeth, and used a coupling nut to hold it together with the other bolt, which serves as a shaft for the drill chuck. Luckily, the holesaws are threaded 1/2-20 too, so they tighten up against the coupling nut for cutting. One bolt end goes in the drill chuck, and the other end acts as a guide bearing inside the bung, which I had drilled out 1/2". The holesaw eventually bottomed on the face of the bung when cutting, so I used a 7/8" then 3/4" saw to turn the bung down, then took a die grinder with a carbide burr to remove remaining bung material to allow deeper cutting of the holesaw. With my coolant mist sprayer keeping the holesaws wet and cool, they cut great and the bung was out in a couple of hours work total.
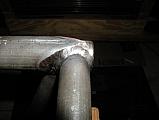
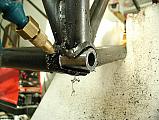
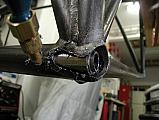
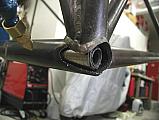
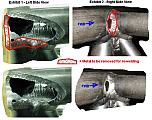
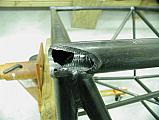
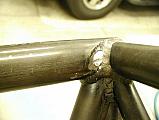
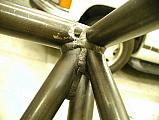
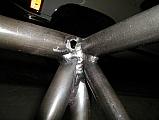
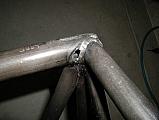
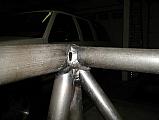
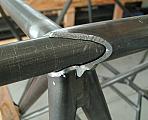
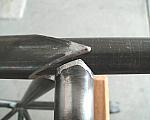
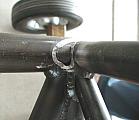
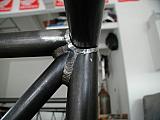
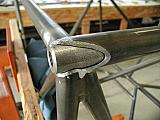
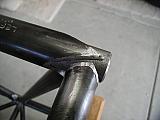
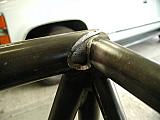
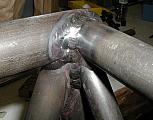
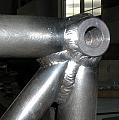
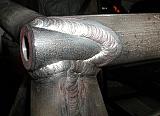
After removing the bung, I used my die grinder with various carbide burrs to remove weld bead in the joint area and clean up the fishmouth as much as possible to maximize new weld area. I then emailed pictures of it to Kevin to get his blessing on the joint before re-welding. With his ok, the new bung was slipped in and re-welded, with the fishmouth welds done first. Good as new. I feel lucky to have the fuselage back in action for $70 and 4 days lost time. An added side benefit is that I know for sure my welds have good penetration after taking this cluster somewhat apart.
Lessons learned:
- Use anti-seize compound.
- Don't weld near bolts.
- There is no problem that time and $$ cannot fix.
- The more inventive you are, the less #3 you need.
- Its good to know Kevin Kimball.
Pictures are below:


