|
3RD QTR 2006
|
 •
•
 •
•
 •
•

|
| DATE |
HRS |
TTD |
ACTION |
IMAGES |
| 07/14/06 |
1.5 |
896.5 |
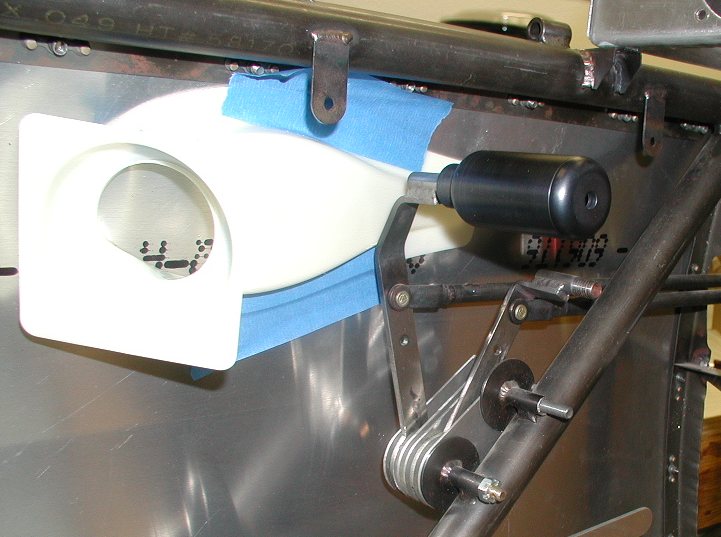
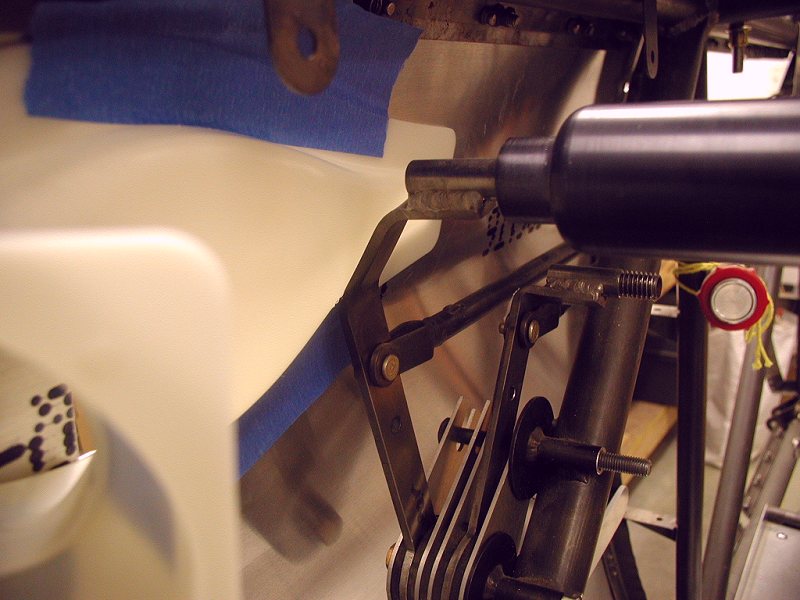
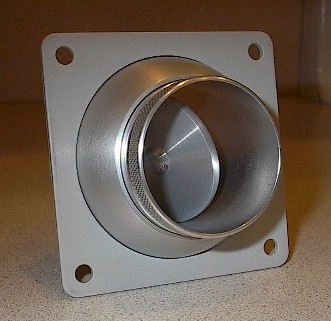
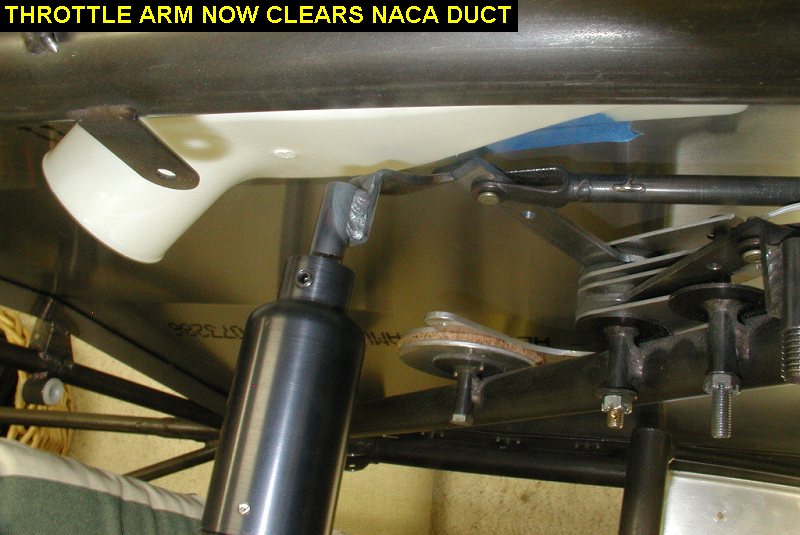
I got my NACA duct
and parts from Van's. I also originally got the plastic "whisperflow"
vents from Aircraft Spruce, but I didn't like them because they could not
close and be airtight. I opted for more expensive aluminum ones from Affordable
Panels in black anodize because they close all the way off. To me
that's essential in the cold weather! I especially liked the big alum
vents I got for the front panel and decided to cut up a Van's SV-1 and
SV-2 to see if I could use a big eyeball vent in the rear cockpit. That is
when I discovered that my rear throttle lever hits the NACA duct! My
side panels and formers must not be outboard as much as a Kimball
fuselage. To fix the problem, I'll just make another throttle lever that
is bent differently to clear the NACA scoop. |
 |
 |
 |
 |
| 08/02/06 |
4.5 |
901.0 |
Finally got my 4130 sheet and
tube needed to make a new throttle arm. Went over to Ken's and roughed it
out on the bandsaw, then sanded it to shape on a really great metal
beltsander he has. Ken bent it up for me in his power brake. He got got
the tube perch in exactly the same position as the original one by
eyeballing it in the brake, I guess that's what 20 years of sheetmetal
fabrication will do for you. I went home and welded the tube onto it. |
 |
 |
| 08/03/06 |
1.5 |
902.5 |
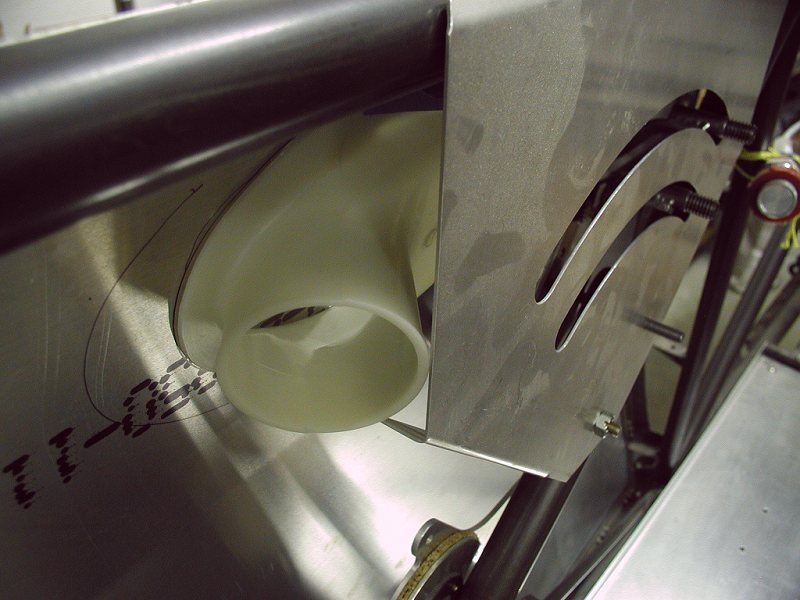
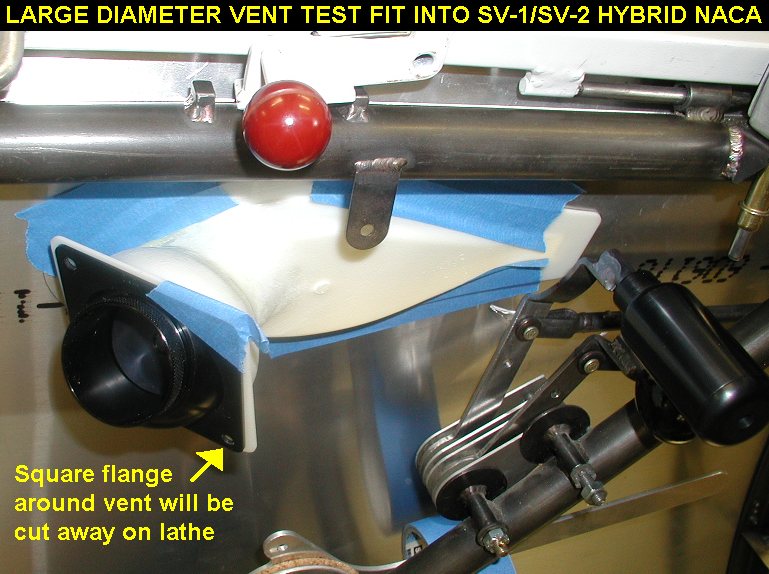
I epoxied the SV-1 and SV-2
together, waited for the it to set then used a die grinder to clean up the
inner part where the vent will swivel around in. I then test fit it on the
fuselage side panels to see if it gets in the way in the cockpit. I sat in
there for quite awhile testing the big vent and little vent against each
other. The big vent doesn't seem to get in the way so far so good. I'm
going to think about it for awhile. |
 |
| 08/15/06 |
1.0 |
903.5 |
I decided to proceed with the
big vents in the back so I bought a couple more Van's SV1 & 2's to
work with and two more big aluminum vents. I cut and glued together
another SV combo. I still need to add some fiberglass reinforcement to
them, and trim the rectangular flanges off the SV's and the vents. |
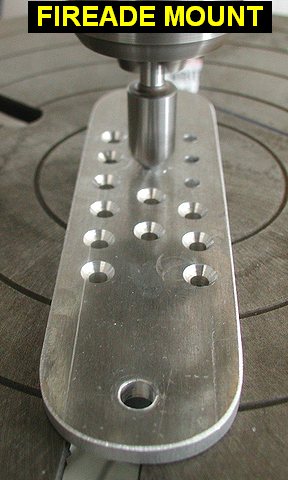
| 09/03/06 |
3.0 |
906.5 |
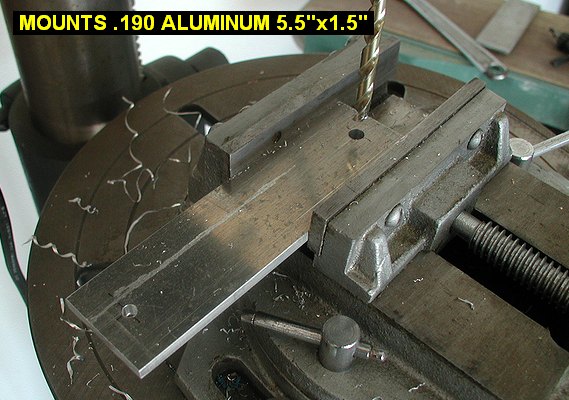
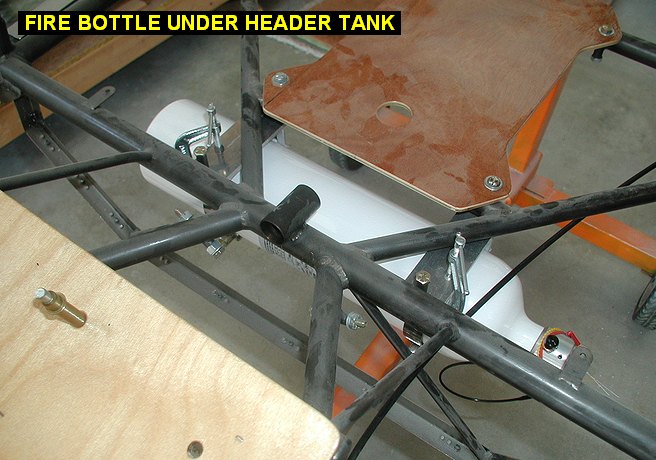
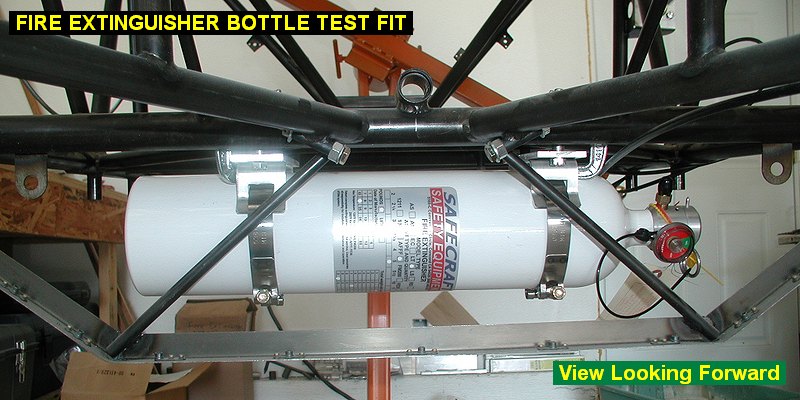
I got an idea for a
good place to mount my 7lb Fireade extinguisher bottle. After fitting the
bottom sheetmetal tunnel in to check clearances I roughed out a couple of
aluminum mounting blocks to hang the bottle under the header tank. The
mount hangs under the aft header tank bushings and will also use two more
bushings I'll add to the FS 24.9 crossmember. I'll have to cut and shorten
the torque tube a bit so it doesn't hit the bottle where it extends past
the crossmember, but that will remove a little weight too. |
 |
 |
 |
 |
| 09/05/06 |
3.5 |
907.0 |
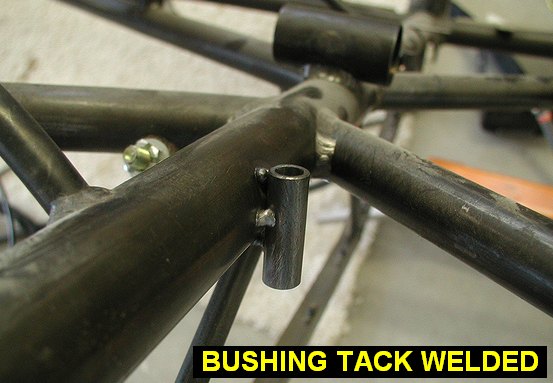
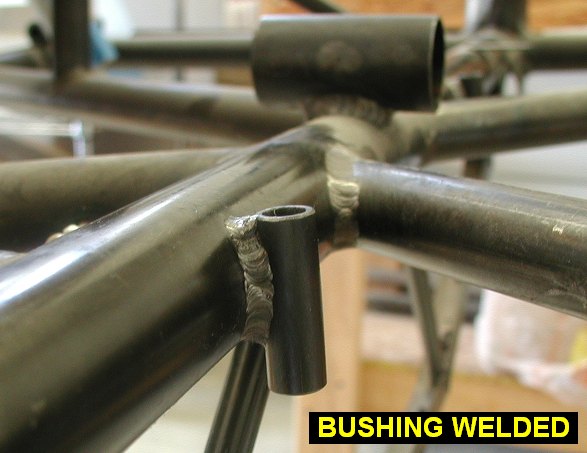
Welded up the new
bushings on the FS 24.9 crossmember. Over at Kens I trimmed and rounded
the corners on the mounting blocks using is sanding belt. I also used it
to take the square flanges off and make two of the black aluminum vents
round for the rear cockpit. We then punched the 2.5" diameter holes
in the front instrument panel for the vents that go there. Later that
night I marked where to drill the holes to mount the vents and SV-2's in
the panel. |
 |
 |
 |
 |
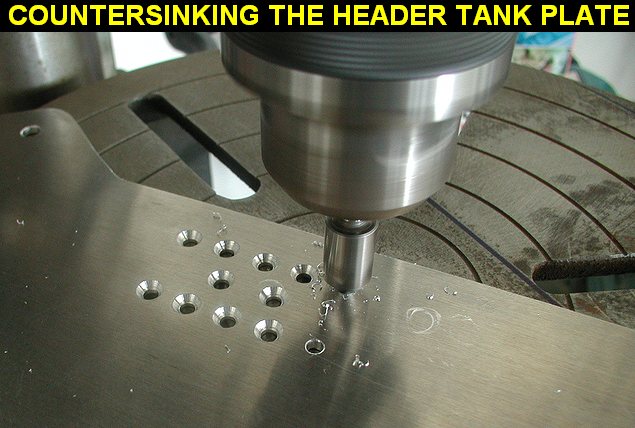
| 09/14/06 |
1.8 |
908.8 |
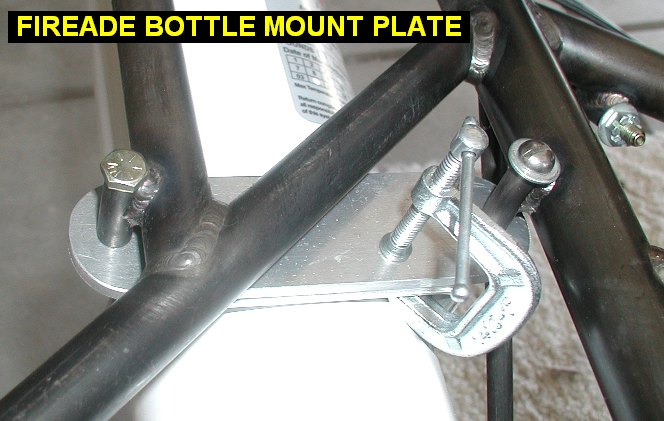
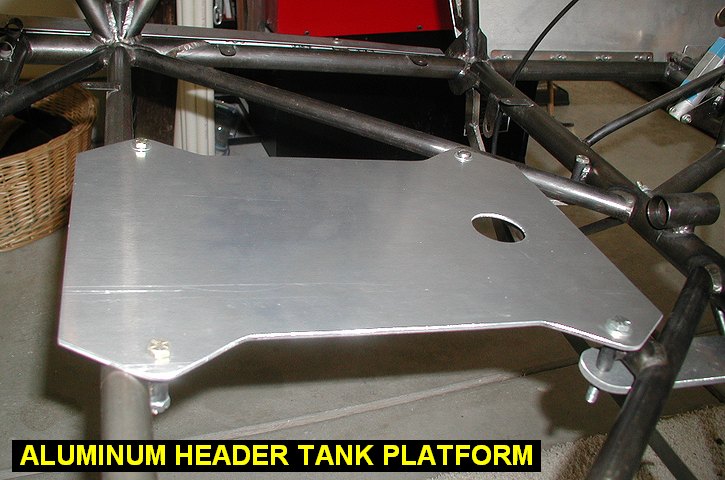
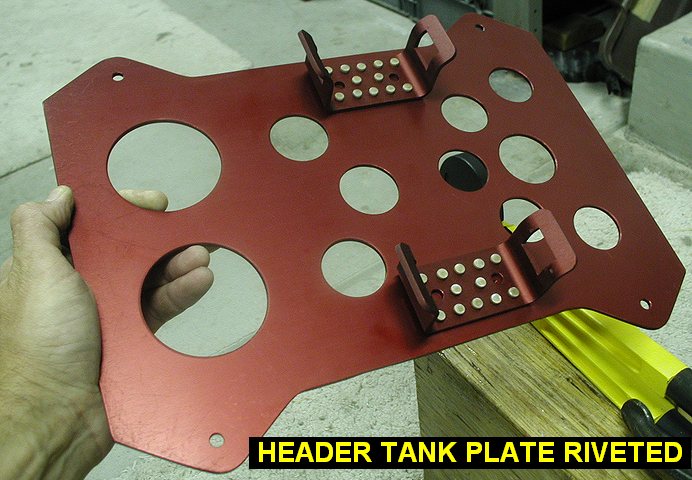
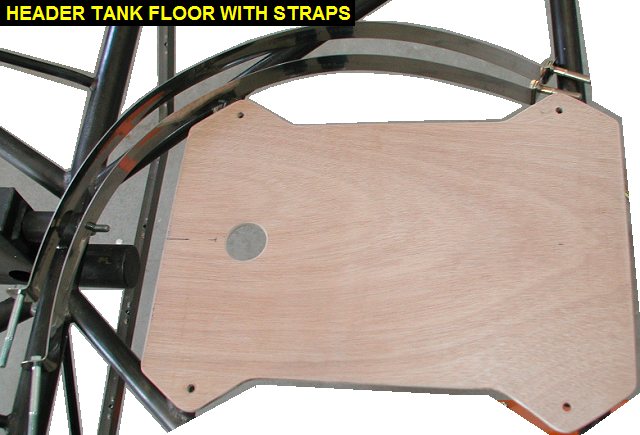
Made a new header tank plate
from 1/8" aluminum to replace the plywood
one I made back in March of 2004. I plan to mount the 5lb. halon fire
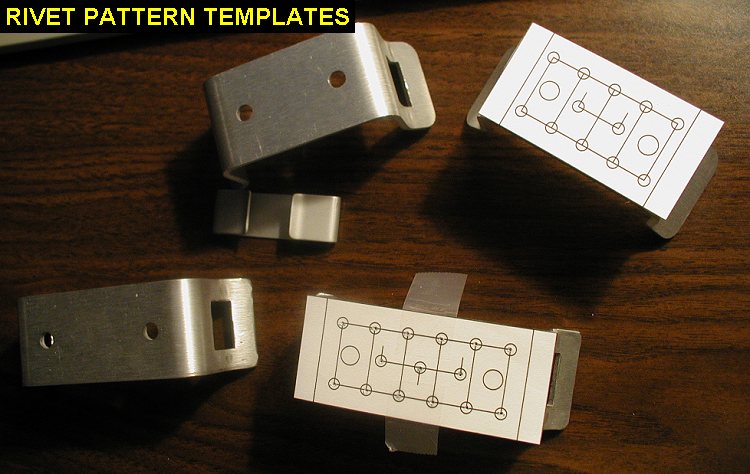
extinguisher to the bottom of the plate. Here is the rivet
pattern I'll use for the bottle mounts. |
 |
| 09/16/06 |
2.0 |
910.8 |
Printed out my rivet patterns
and then drilled #40 pilot holes in the bottle brackets. I also located
and drilled matching holes in the mounts for the fireade bottle. |
 |
 |
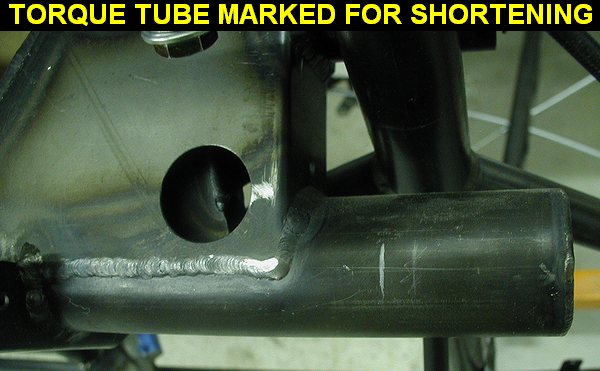
| 09/19/06 |
2.2 |
913.0 |
Drilled out the #40
holes bigger for 5/32 rivets. I discovered I didn't have a 5/32 counter
bit for my microstop countersink so I set up a plain countersink in my
drill press. I then adjusted the table height until I was able to make
perfect countersinks in the plates. I reinstalled the torque tube and
marked where to cut it to make clearance for the fire bottle. |
 |
 |
 |
 |
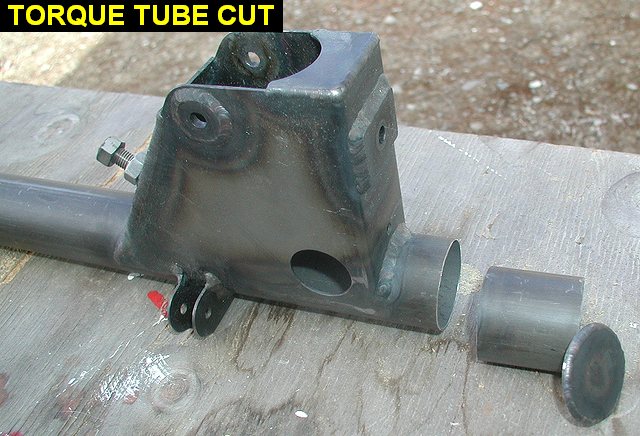
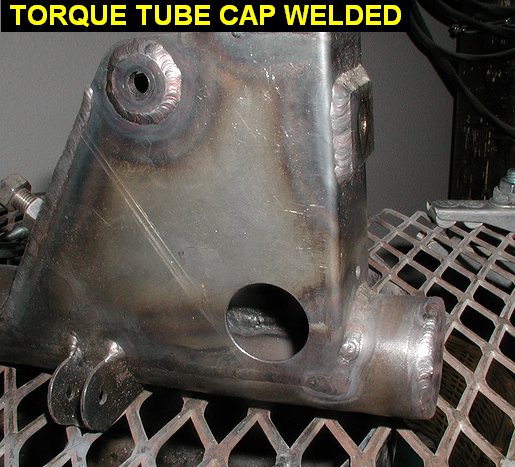
| 09/20/06 |
1.0 |
914.0 |
Used my air powered cutoff wheel
to first cut off the cap that was welded on the torque tube, then trimmed
the main tube back. I used a few pieces of masking tape to hold the cap on
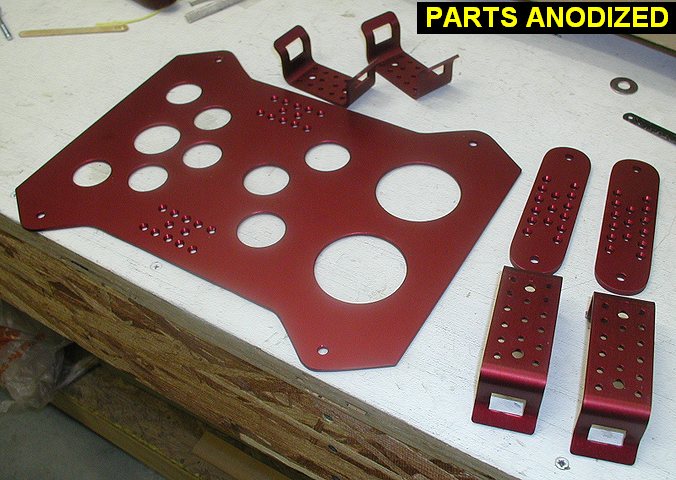
for tackwelding. I then removed the tape and welded the cap all around.
Before taking the aluminum parts over to the platers to be anodized red,
Ken punched some lightening holes in the header tank plate for me on the
punch press. |
 |
 |
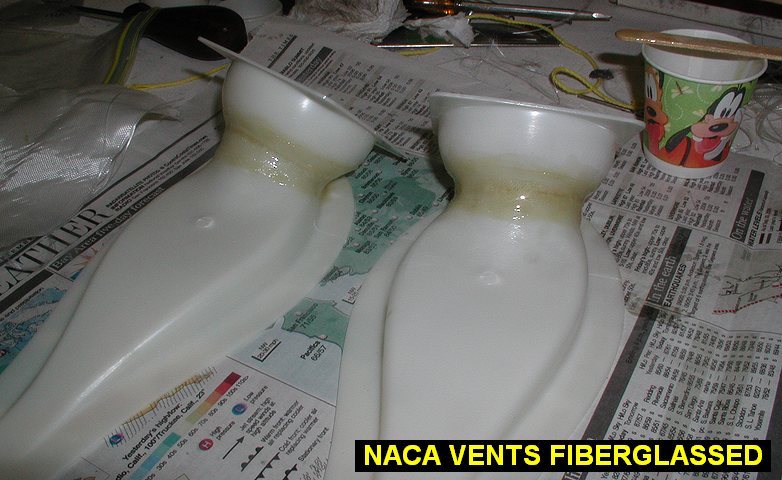
| 09/21/06 |
0.9 |
914.9 |
Using T-88 and some strips of
fiberglass cloth I had laying around from an old model airplane project, I
reinforced the glue joints of the rear cockpit NACA vents where I had
added the SV-2 vent sockets. |
 |
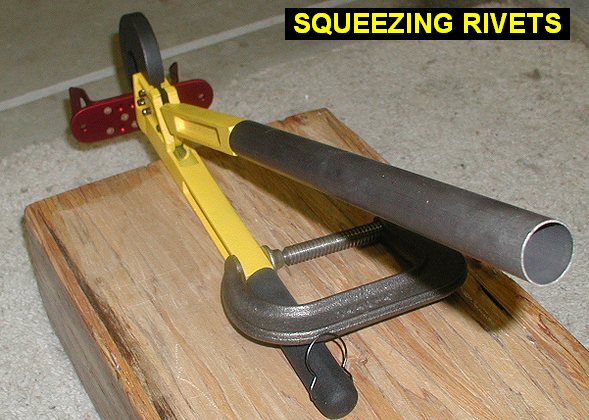
| 09/22/06 |
1.7 |
916.6 |
In the morning I
spent some time sanding down the fiberglassed joints in NACA vents so they
are good enough to paint. The contours aren't perfect but shouldn't be too
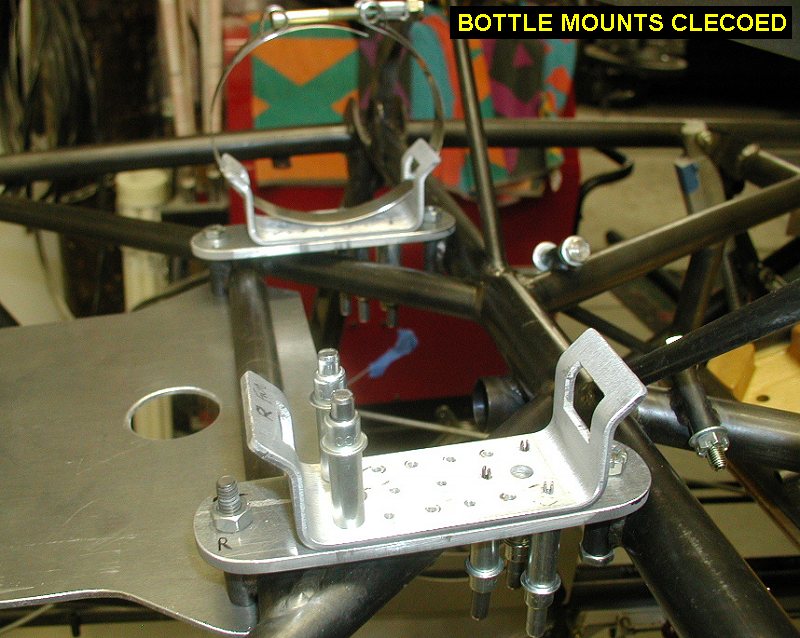
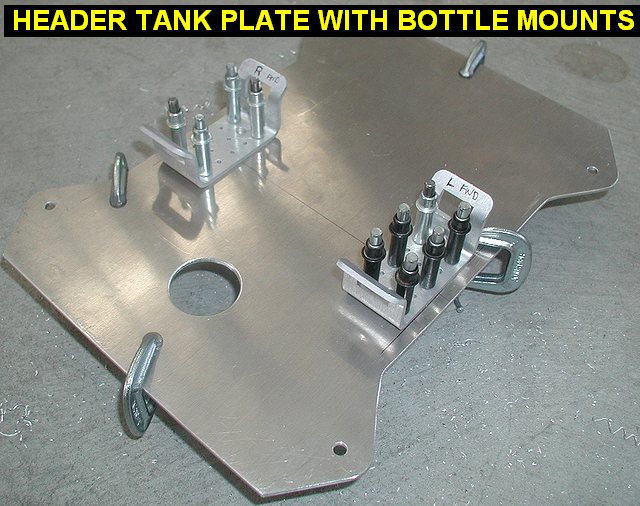
noticeable. I got the parts back from the platers and squeezed the
rivets in, AN426AD-5-8 for the small bottle and -9's for the big bottle. I
had to use an extension on the handle for more power. I then test mounted
the bottles. |
 |
 |
 |
 |
| QTR TOTAL |
24.6 |
|
|
3RD QTR 2006
|
•
•
•
|


